Exposure & tonal range
Move exposure from −4 to +4 EV. Lift shadows to open a jacket in shade, or pull back bright areas with Highlights. Set the black and white points to choose where the tonal range begins and ends.
RAW photo editor for Windows
Set exposure and white balance, blend your own 3D LUT, then fine-tune contrast and color across the frame. When skin, foliage or a painted surface needs a different treatment, give it its own grade.
Develop
Open a camera RAW and start with its as-shot white balance. Use the RGB histogram and the original comparison to decide where the darkest, brightest and neutral parts of the frame should sit.
Move exposure from −4 to +4 EV. Lift shadows to open a jacket in shade, or pull back bright areas with Highlights. Set the black and white points to choose where the tonal range begins and ends.
Click a neutral gray card or a textured white patch. The picker averages a 5 × 5 area and balances its channels while preserving average luminance. Fine-tune temperature and green–magenta tint by eye, or restore as-shot balance.
Use the tone curve for a quick contrast adjustment. For finer control, add and drag points on the Develop curve: lift the lower midtones while holding an anchor in the highlights. This shapes what goes into the LUT.
Look
Import a normalized, display-referred sRGB 3D .cube file. Blend from the developed frame at 0% to the full LUT at 100%. Dial back a strong look until the colors and contrast suit the light you actually photographed.
Download both example .cube LUTs to try the warm and cool grades on your own photographs.
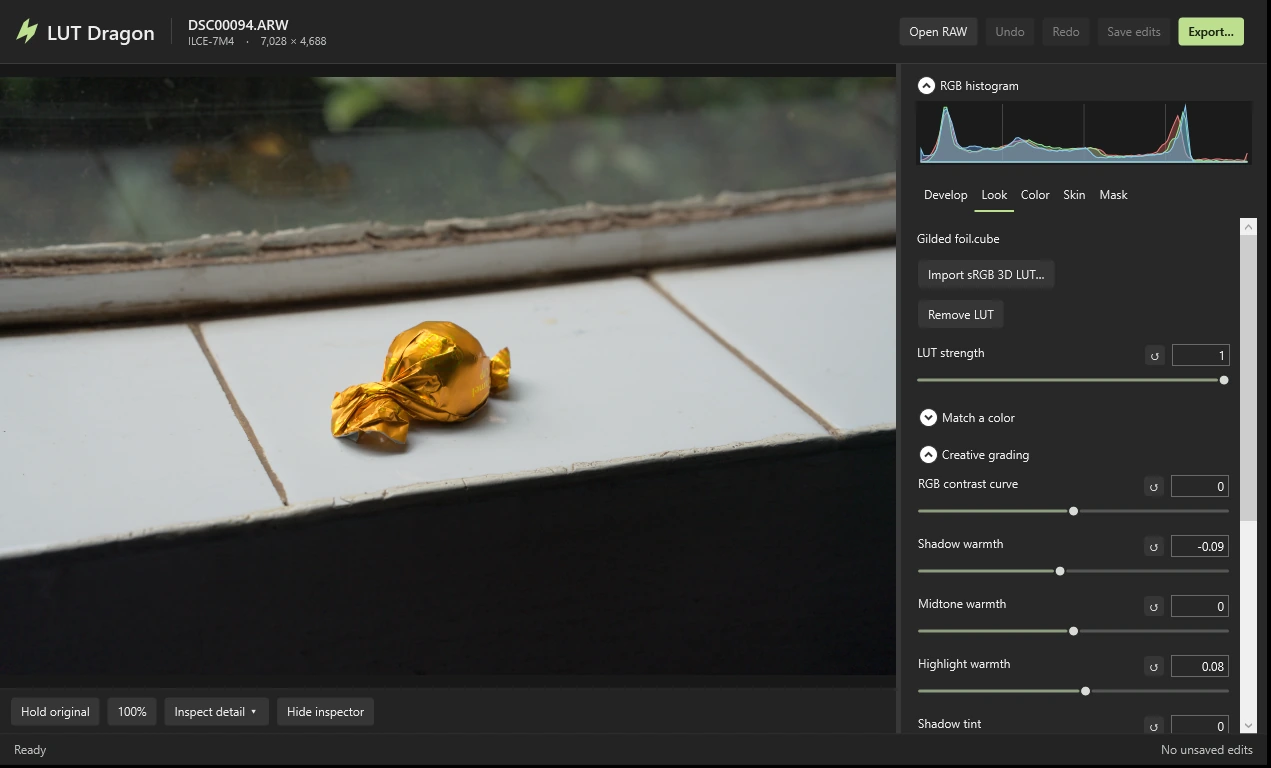
Set warmth and tint independently in shadows, midtones and highlights. Cool a shaded stone wall while keeping the sunlit stone warm. Use the Look RGB contrast curve and its point editor for the final tonal shape.
Sample a developed color, then choose a target swatch or enter a six-digit sRGB hex value. Adjust Color range to control how neighboring colors follow. At full LUT strength the sampled input maps to the target at the look stage; your later grades can still shape the result.
Selective grading
A portrait can keep a bold background LUT and a subtle skin treatment. A motorbike on a green verge can have its paint adjusted independently of the landscape. Choose a selection by color, skin tone or subject boundary.
Click a tone to adjust its hue, saturation and luminance. Keep the selection connected to the sampled patch, or reach similar colors across the frame. Set range and edge softness, then inspect the tinted overlay or grayscale mask for spill.
Automatic skin selection gives skin its own relative LUT strength. Tune hue, warmth, tint, saturation and luminance. Include a missed tone or exclude one picked up by mistake. Hold the skin comparison to judge the correction against the rest of the grade.
Apply separate hue, saturation, brightness, warmth and noise reduction to each side of the subject mask. Expand or contract soft edges, adjust refinement, and place soft include or exclude corrections where the automatic selection needs help.
Noise & detail
Reduce colored speckle with chroma noise reduction, then decide how much brightness grain to keep with luminance reduction. A live divider compares the same pixels with noise reduction off and on. Pan across fine lettering, fabric or skin while tuning the settings.
 Before
 After
Product photograph
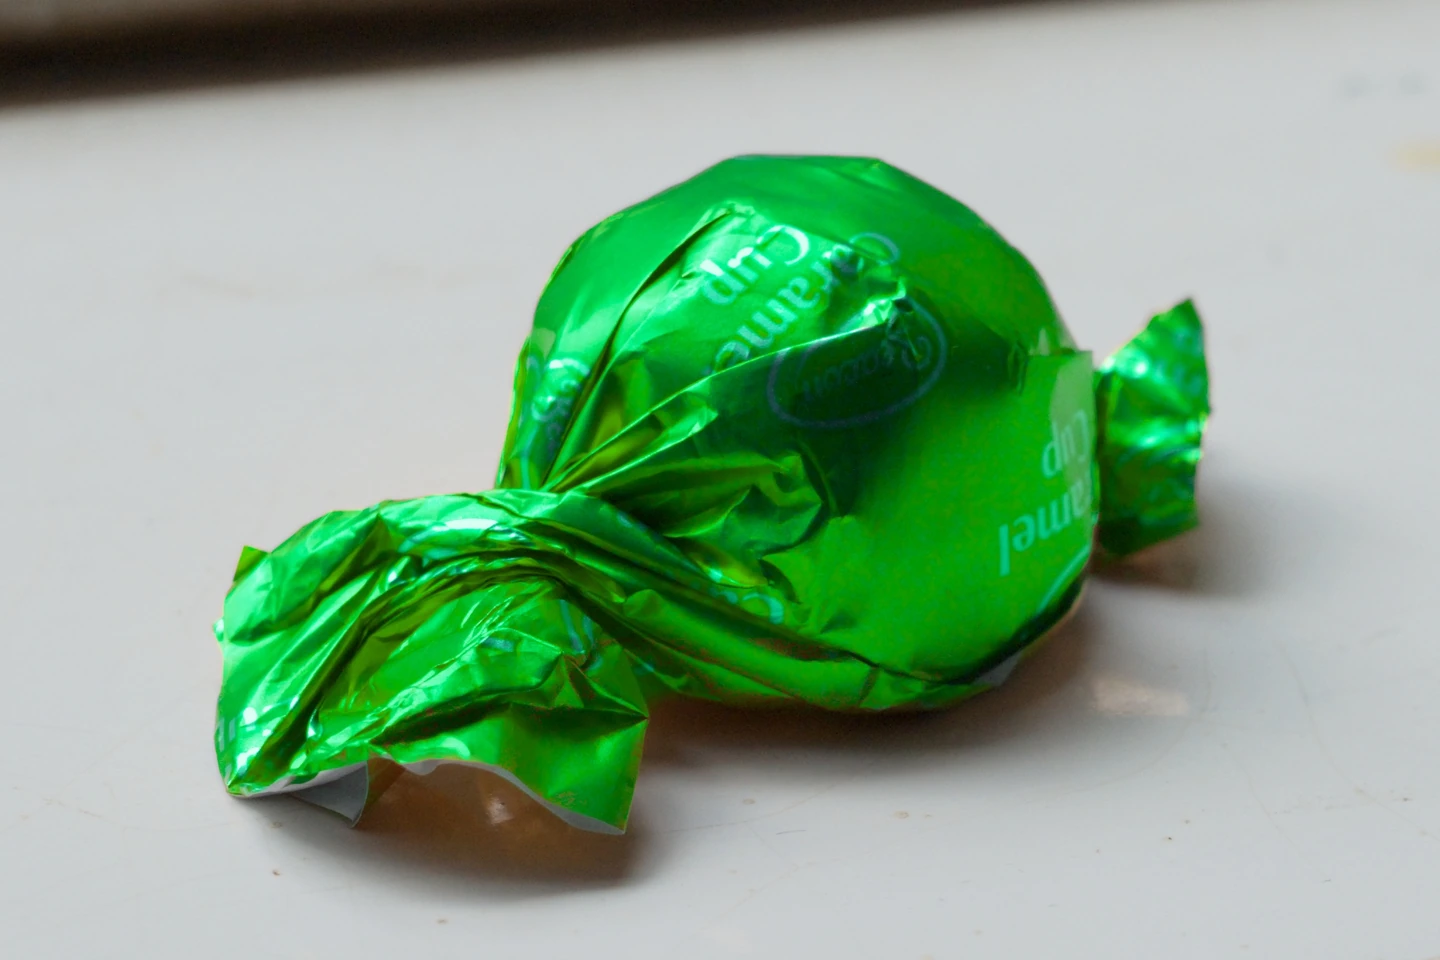
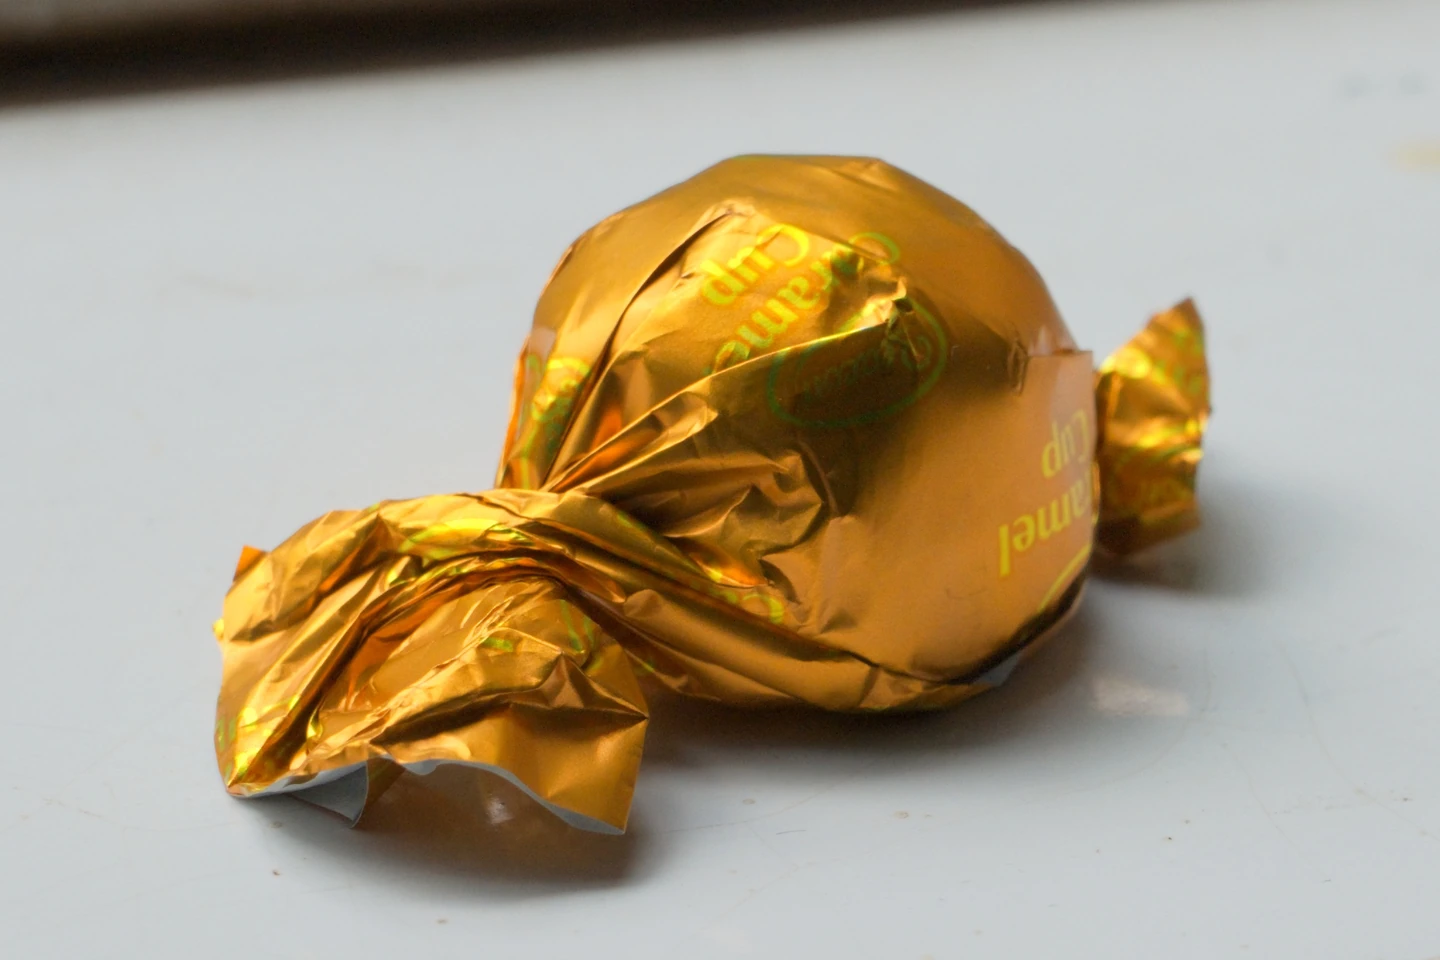 GoldGreen
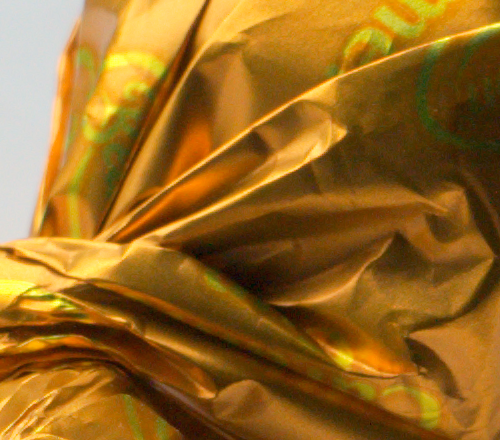
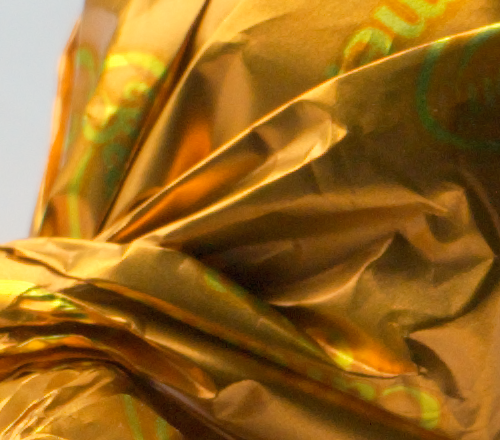
Drag across the wrapper to compare. In the editor, sample a colored midtone and choose a target. Hue range, feather, strength and chroma let you carry the new color through the folds while preserving linear luminance and neutral reflections. Apply it to the subject, background or whole frame.
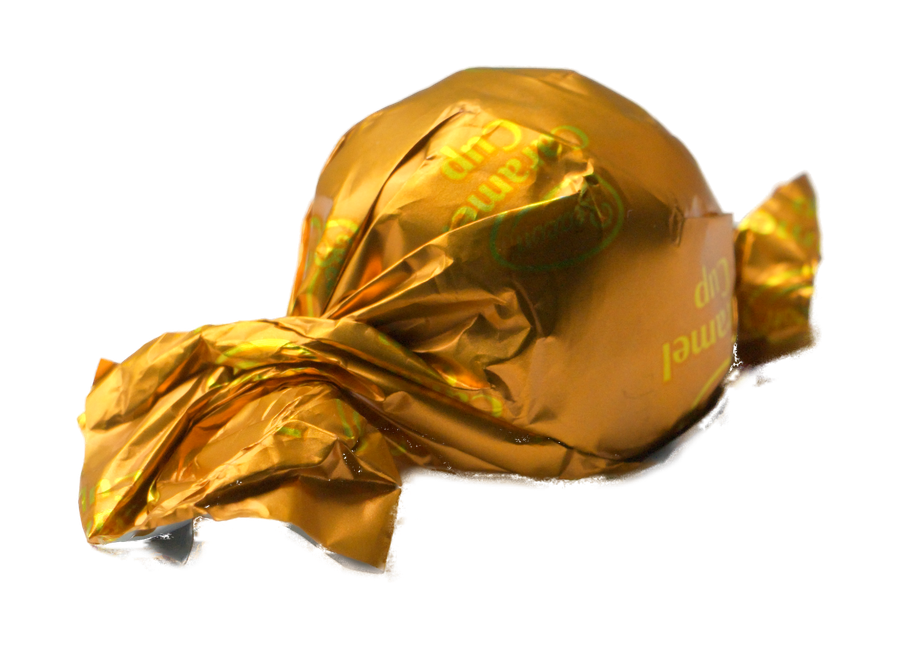
Inspect the mask as an overlay, a grayscale matte or a checkerboard cutout. At 100%, switch between charcoal and pale blue to spot fringe along soft boundaries. Export the subject with soft transparency as a tagged 16-bit RGBA PNG.
Workspace & delivery
Drop a RAW into the editor, resize the inspector, or press F6 to give the image more room. Double-click a detail to zoom to native resolution and drag to pan. The inspection menu opens live splits for noise reduction, mask edges and material replacement.
Undo and redo adjustments, then save a sidecar beside your original. Reopening the RAW restores the settings and selections. If your LUT moves, relink a matching copy. Editing, mask generation and rendering run locally.
Deliver a tagged sRGB JPEG for sharing, a 16-bit sRGB TIFF for further work, or a transparent subject PNG. Export at full photo resolution and keep the sidecar for the next version.
Windows x64
All editing tools and full-resolution export are available for seven elapsed days from first launch, including time the app is closed. Extract the folder and run LUT Dragon.exe.